Since Erin and I are adults with a child, we sent out holiday cards this
year. Rather than hand-addressing them like Erin has done in prior years, I
wanted to create and print address labels. Since the source of all this data
is stored in the Contacts app on my computer, I figured this would be easy.
It can be, but it wasn’t for me.
The Easy Way
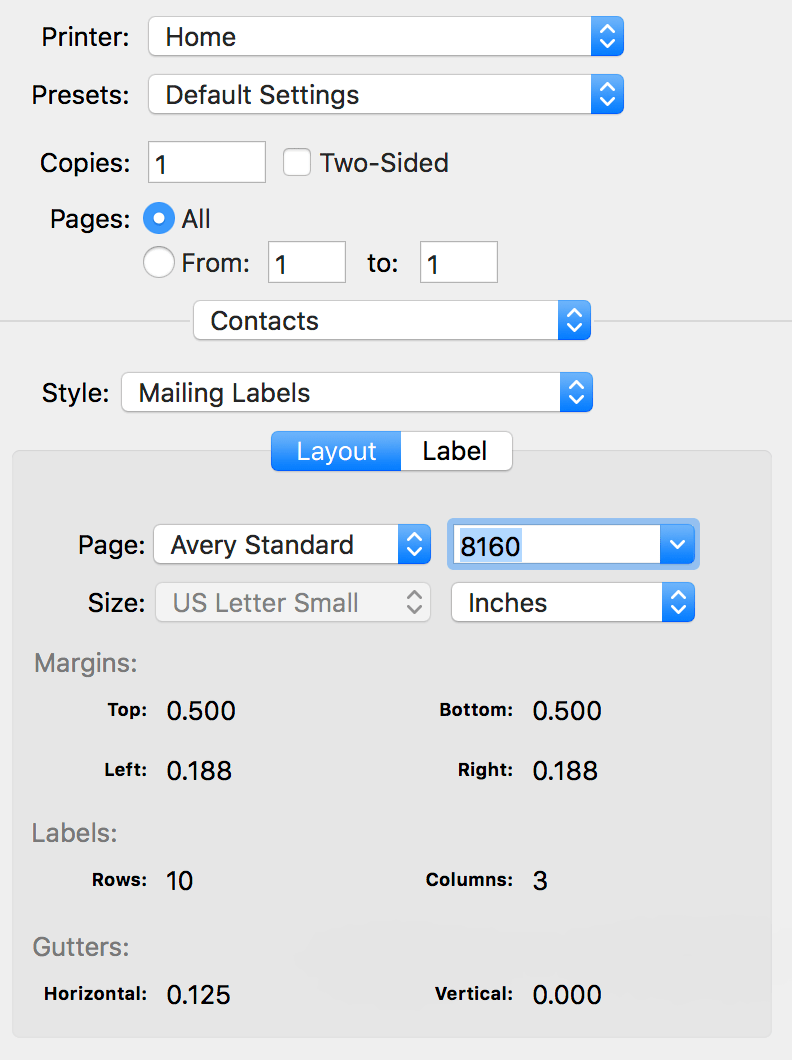
If you’re willing to make precisely zero edits to the address labels that are
created from the Contacts app, it’s actually quite easy to print labels.
- Select all the addresses you want to print by ⌘-Clicking on the ones you want
File→Print- Select
Contactsin the centered drop down, and then set the type of labels you have. In our case, we had bought Avery 8160.
The Hard Way
For me, I wanted to address couples as, say, “Stephen and Merri Hackett”, even if my contact card had only Stephen’s name in it. This got very complex very quickly, but I was able to figure it out.
- Select all the addresses you want to print by ⌘-Clicking on the ones you want
- Open
Numbers(presumably this would work in Excel too) and create a new blank document - Drag the addresses from
ContactsintoNumbers - Remove any fields you don’t care about. This is, most likely, nearly all of them, such as phone numbers, emails, etc.
- Make any edits to the data here in
Numbers. This is where, for example, I changed:
Stephen Hackett→Stephen & Merri Hackett File→Export to→CSVto export the list as a series of comma separated values- Go to Avery’s web site and select the
YouPrintoption - Enter your product number (in our case, 8160)
- Select a Design
- On the left hand side, choose
Import Data - Upload your CSV you created in step #6
- Walk through each address and make sure that none run off the edge of the label
Quite obviously, this was considerably more involved. However, it also had the side benefit of me being able to use a slightly more festive label thanks to Avery’s selection of clip art designs.